Creating WooCommerce Variations
Are you having difficulties with creating WooCommerce variations for your products?
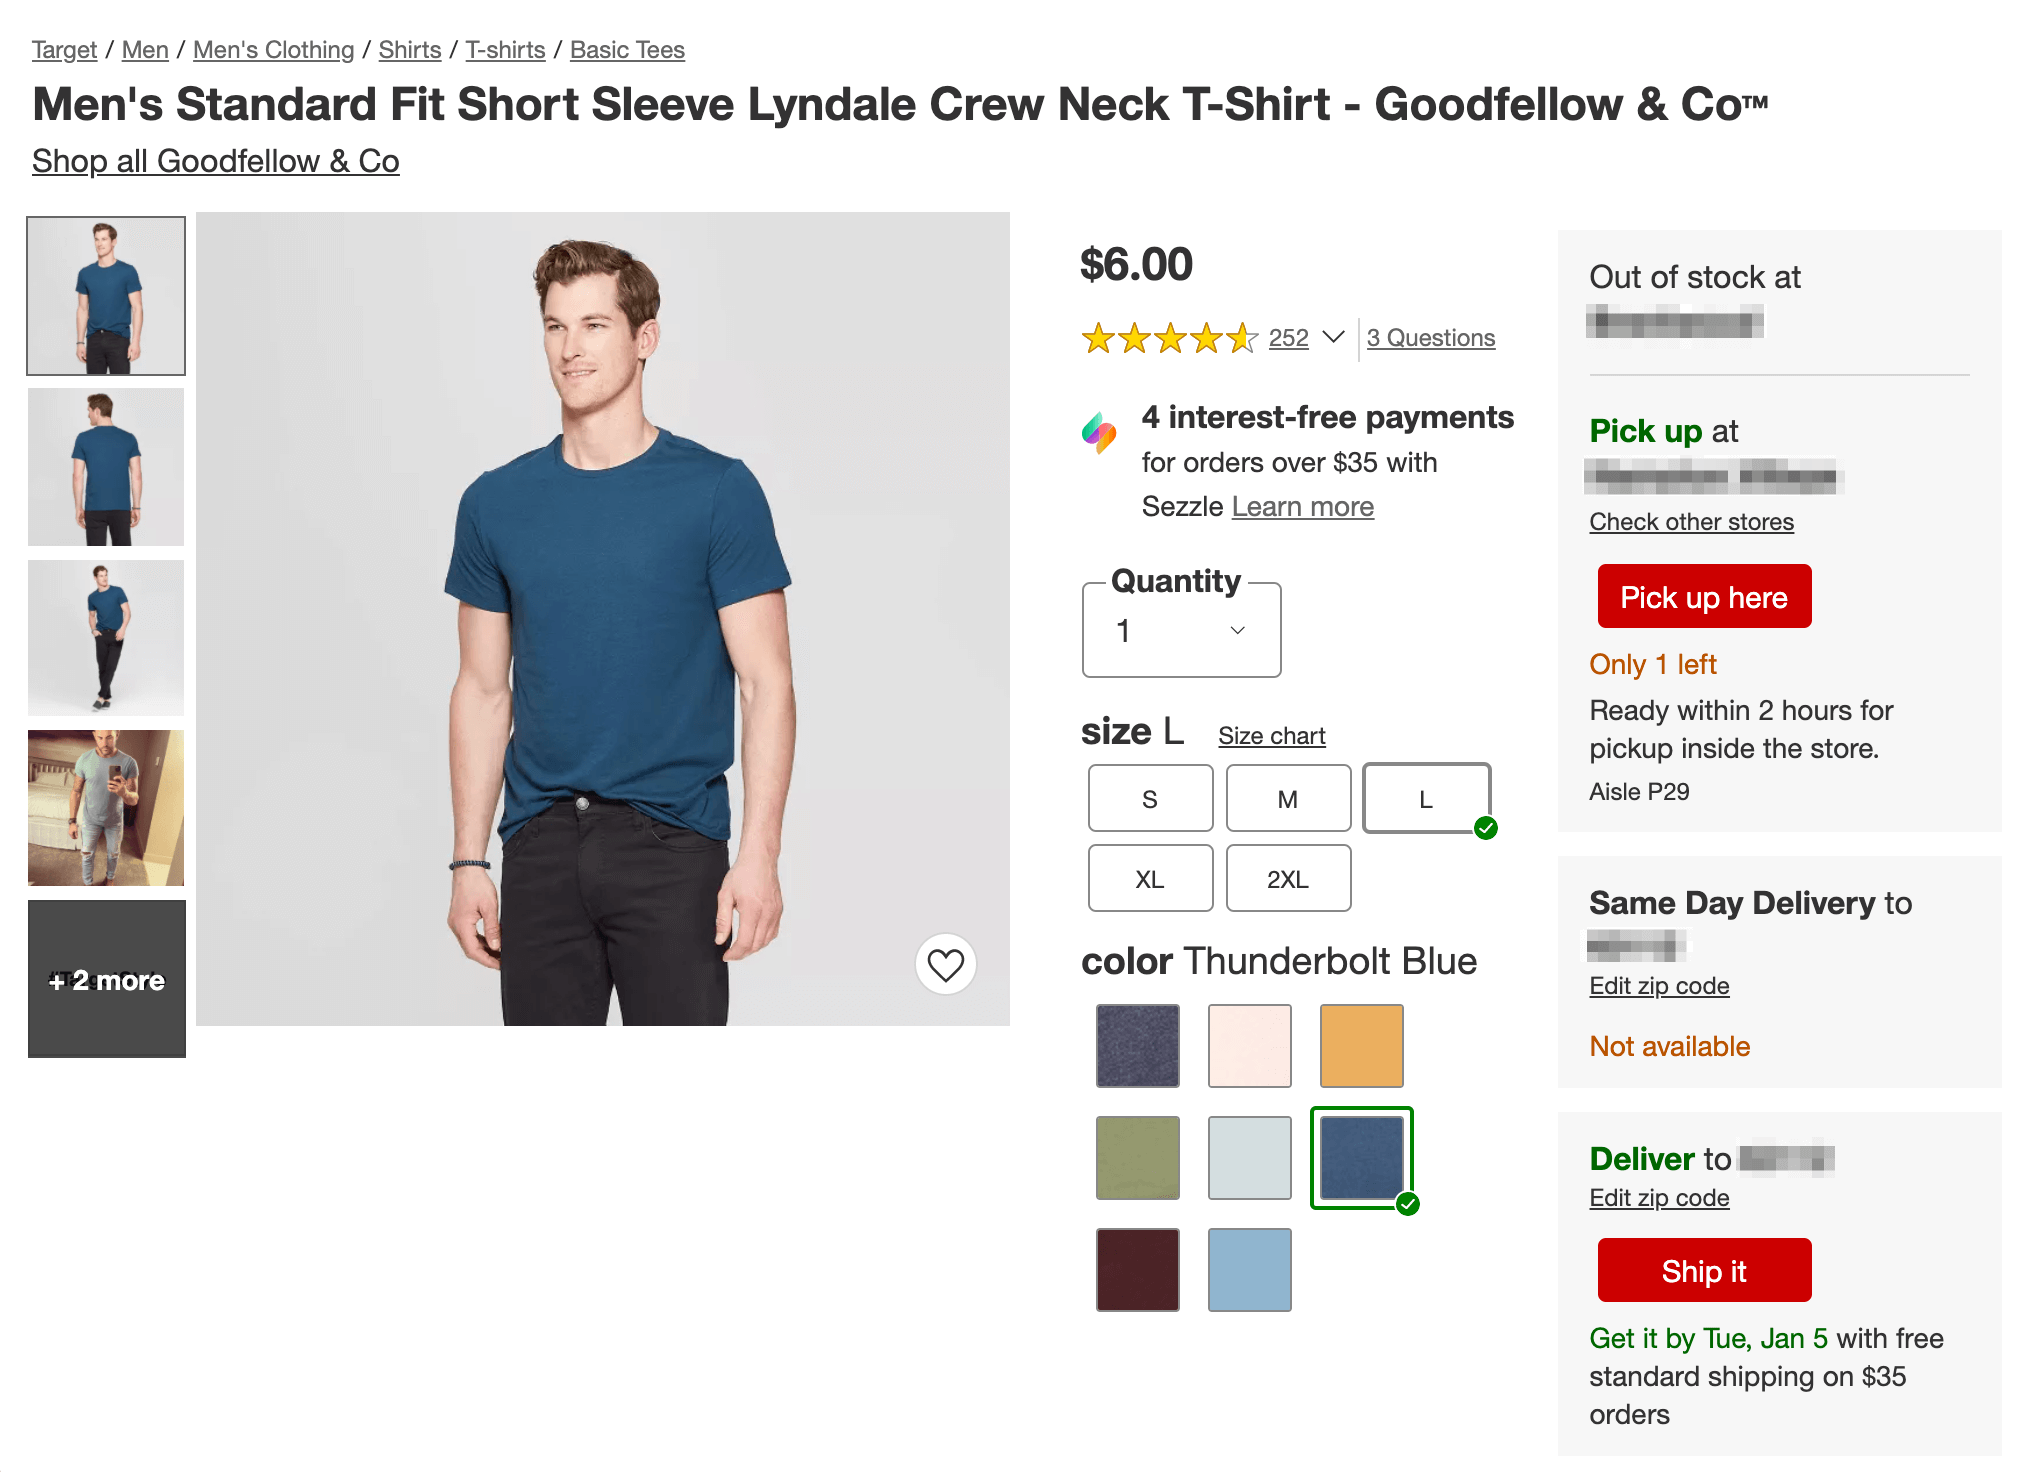
Product variations let you display multiple options for a particular item so that customers can select whichever one they want. Variations allow users to choose different options for a product. This means you can sell any product in different sizes and colors.

However, variations can be complex to set up.While there are a few tricks to using this feature, once you get used to the process it becomes simple to list products with as many variations as you’d like. In this quick tutorial, we’ll explain what WooCommerce variations are and how they work. Then we’ll walk you through how to set them up for your products.
Let’s take a look!
First, let's start by creating a new product in our WooCommerce store.
- In your WordPress admin, hover over "Products" and click "New Product".
- Enter "Plain Purple Shirt" as the title for this product.
- From the "Product Type" drop down, choose "Variable product".

And let's add our attributes.
- From the Product data meta box, click "Attributes".
- Select "Styles" followed by "Add".

- Select "Used for variations" and "Select all".

- Click "Save attributes".
- Click on the "Variations" tab.
- And from the drop-down, select "Create variations from all attributes" followed by "Go".
- You'll see an alert pop up. Click "OK".

You should now see your three WooCommerce variations, as shown in the image below.

You can click into each one and change specific things.
You can enter a price specific to this variation. You can choose a custom weight and dimensions - in the case of shirts, perhaps some sizes are physically larger than others. You can specifiy which variations are in stock.
In this example, let's upload a custom photo for this WooCommerce variation. That will help the user make the right choice.
- Click the "Photo" icon and upload a t-shirt image.

- Repeat this for the U Neck and Polo variations.
- When you're done, don't forget to click "Save changes".
- And then just for good measure, click "Update" (or "Publish" if the product wasn't already published) just to make sure all of the data is saved.
Let's take a look at this product on the front-end of your site.

When the user chooses a style, they'll see updated pricing and an updated photo. If you see a message about the product being unavailable, you probably forgot to set a price for each variation.

- Using variable products makes your store much easier to navigate for the end user. And you have less information to manage.
- Setting up those attributes is a pain to do the first time. But once they're set up, creating variable products isn't too hard.
- Attributes also display on the front end and make your product page a little easier to read for humans and search bots.

I
f you ever want to add custom information to the "Additional information" tab, you can manually type in attributes on the edit product page.
An example of another store doing this is Best Buy. If we look at one of their products, we can see a large amount of attributes. How far you want to go with attributes is entirely up to you. The more information that you provide for your customers, the more likely they are to buy because they feel safe and secure knowing everything about the product. So we recommend putting in as many attributes as you can.
That is all, happy selling!

