
- Creating an attractive email signature is crucial whether you're representing a company or showcasing your brand.
- A professional signature helps readers easily reach out to you, reflects your personality, and portrays a friendly and polite image.
- So, let's dive into creating the best HTML signature for your webmail email account, complete with your logo or headshot!
Section A - Creating Your Email Signature
1. Start creating your signature:
-
To create your email signature, we recommend mysignature.io - a powerful tool that allows individuals and businesses to create professional email signatures that leave a lasting impression.
-
Head over to the MySignature online generator available at https://mysignature.io/ and kick off the signature creation process by clicking the "Create Signature" button.

2. Select your ideal template:
- Browse through a variety of pre-designed templates that match your brand voice perfectly.
- You can choose a template category from the drop-down menu or start from scratch. Consider which format suits your needs best.

3. Fill in your personal information:
- Enter essential contact details such as your position, official name, addresses, and phone numbers.

4. Add social media icons:
- Navigate to the "Social" tab and select the social media platforms you use frequently.
- Customize each social media link by updating the URL.
![]()
5. Customize your signature design:
- Move on to design customization to ensure your signature aligns with your brand identity.
- Choose layout options, and adjust font size, color, and background.
- The free editor offers basic HTML footer templates, while the premium editor provides access to a wider range of signature templates and advanced design tools. However, the free editor should suffice.
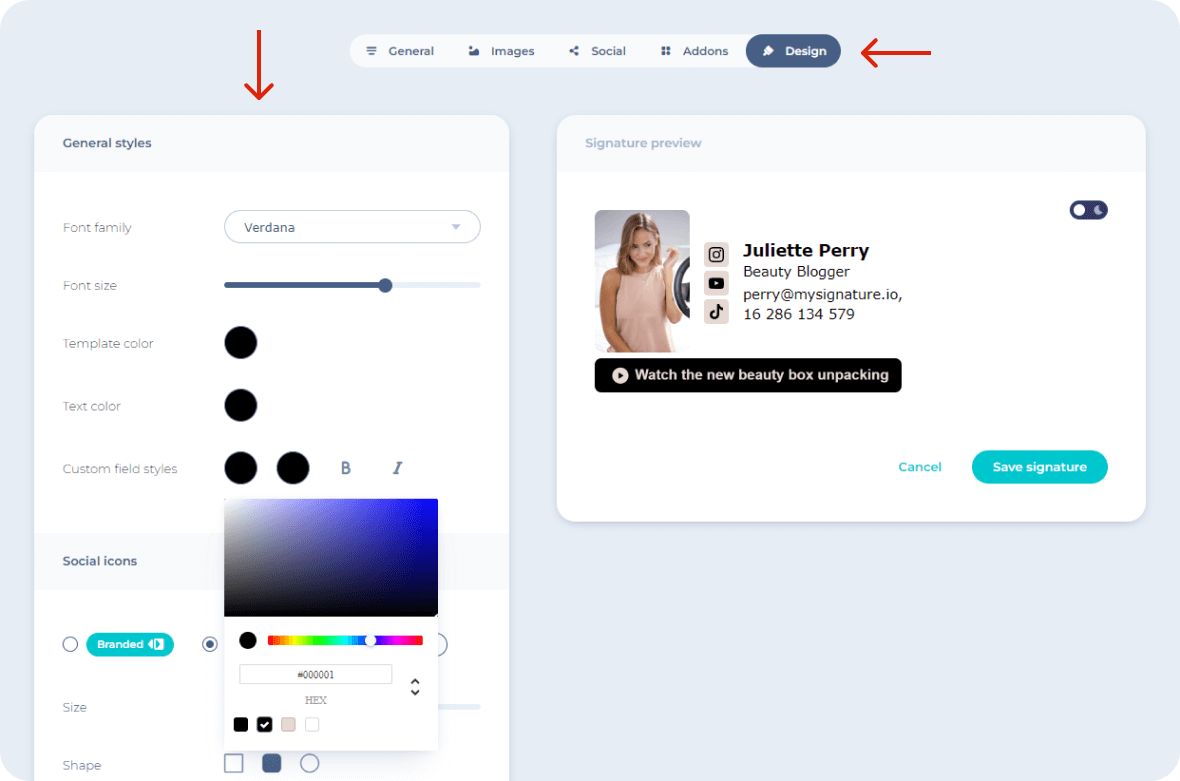
6. Save your signature:
- Once you've finished customizing, save your changes by clicking the "Save Signature" button.

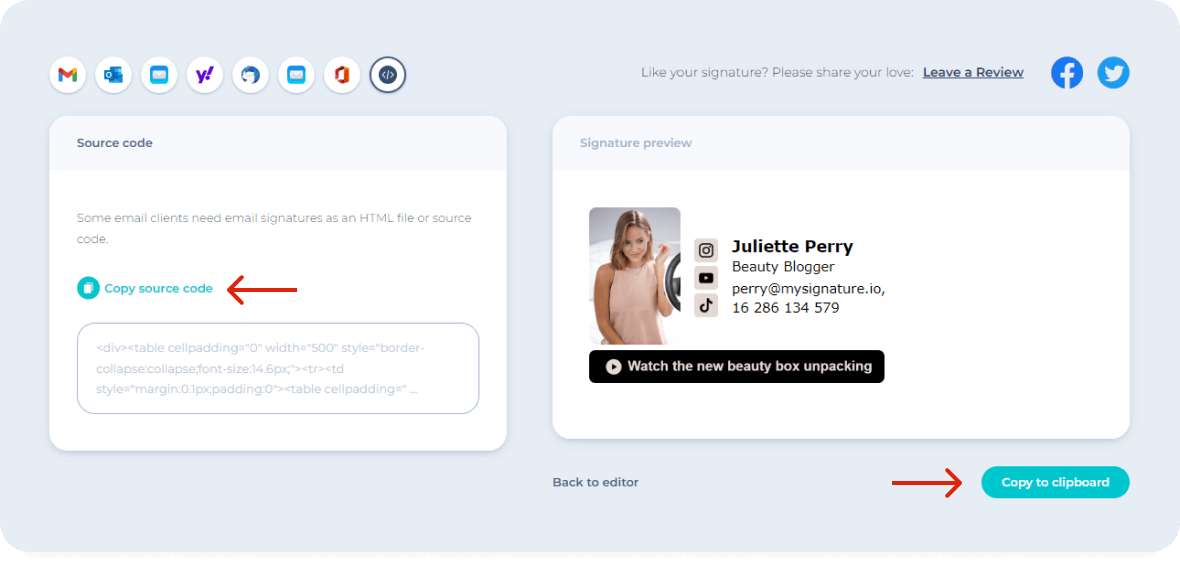
7. Copy your signature:
- If everything looks good, either click "Copy to Clipboard" or select and copy the HTML code of your signature.
- It's that simple! You don't need to be a coding expert to manage this essential task when you have professional services like MySignature at your disposal.
Section B - Installing Your Email Signature
Now that you've crafted your stunning email signature, let's tackle the next step: installing it in your webmail-based email account. Follow these simple steps:
1. Login and Choose/Create Your Identity
- Go to the login page of your webmail. Typically, this is something like yourdomain.com/webmail.
- Log in using your full email address (e.g., [email protected]) and your email password (remember, passwords are case-sensitive).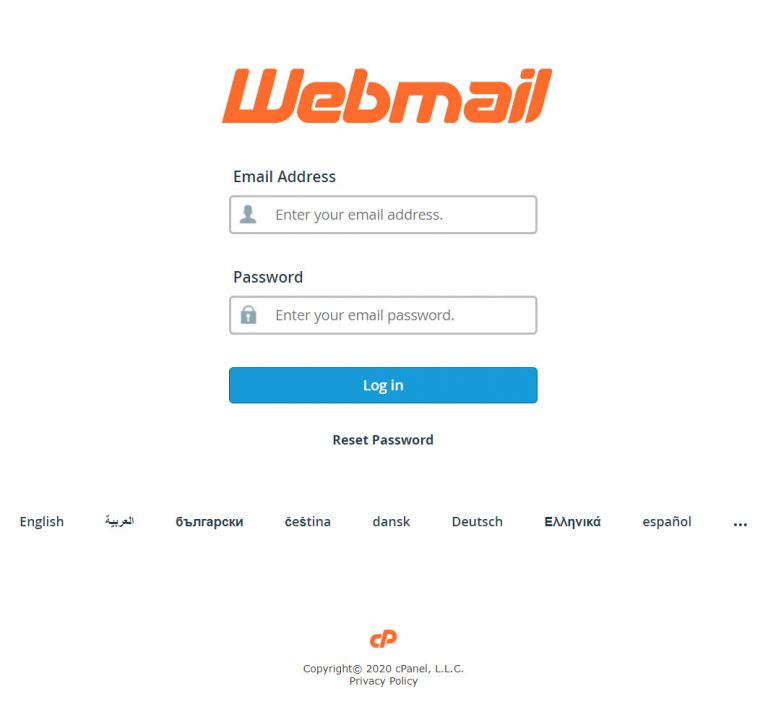
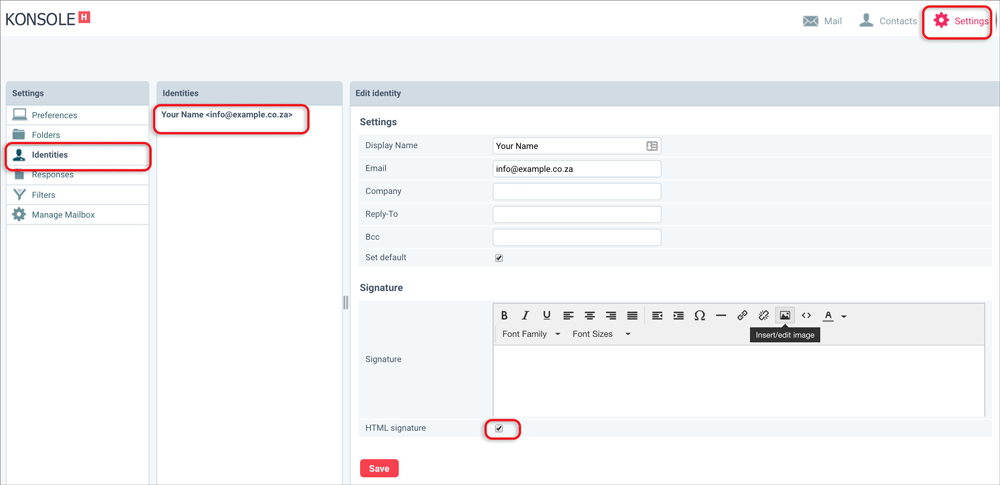
- After logging in, locate the "Settings" option in the bottom left-hand corner.
- From the menu on the left, choose "Identities".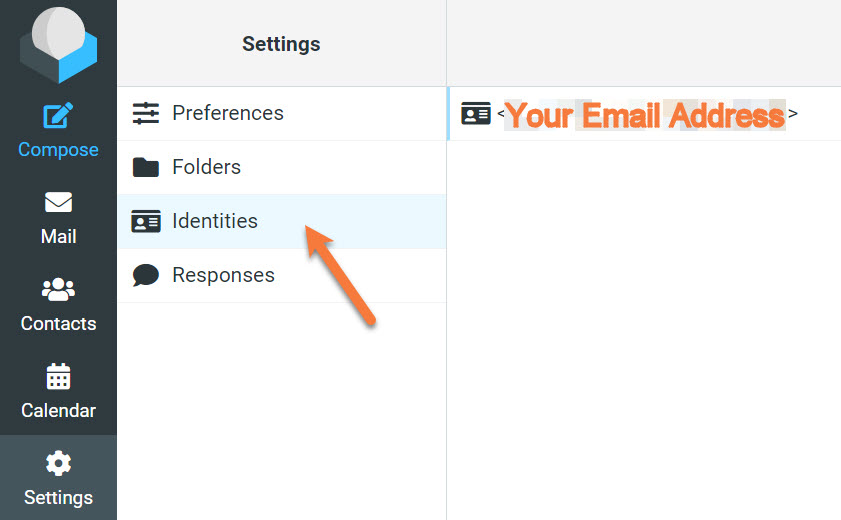
- Select the relevant identity from the list or create a new one by clicking the "+" or "Add Identity" button, usually found at the bottom or top of the list.
- You’ll have the option to edit a few options in this area. Let's briefly talk about those: - Display Name is the name other people will see when they receive an email from you.
- Email should be your email address. It is advised not to change this text.
- Organization is an optional field that you can use if you work for a business and want to include their name.
- Reply-To is an optional field you can use if you want replies to email messages sent from this account to go somewhere else.
- BCC is a useful option if you have an assistant or archive email and want to Blind Carbon Copy a message to that account each time you send an email from this account.
- Set default should be enabled if this is the default signature you want to use.
- Next. See the "Signature" text box below? This is where you'll paste the signature you created earlier.
2. Paste Your Copied Signature:
- Remember the HTML code you copied to your clipboard?
- In the "Signature" text box, right-click and select "Paste" or use the keyboard shortcut (Ctrl + V on Windows, Command + V on Mac) to paste your signature.
- Ensure that the entire signature, including any HTML code, is pasted correctly.
- If necessary, make any final adjustments to the formatting or layout of your signature within the webmail settings.
3. Save Your Changes:
- Once you've pasted your signature and made any desired adjustments, click the "Save" or "Update" button to save your changes.
- We hope you find this Knowledgebase article helpful! You’ll find our website designs to be just as good!
