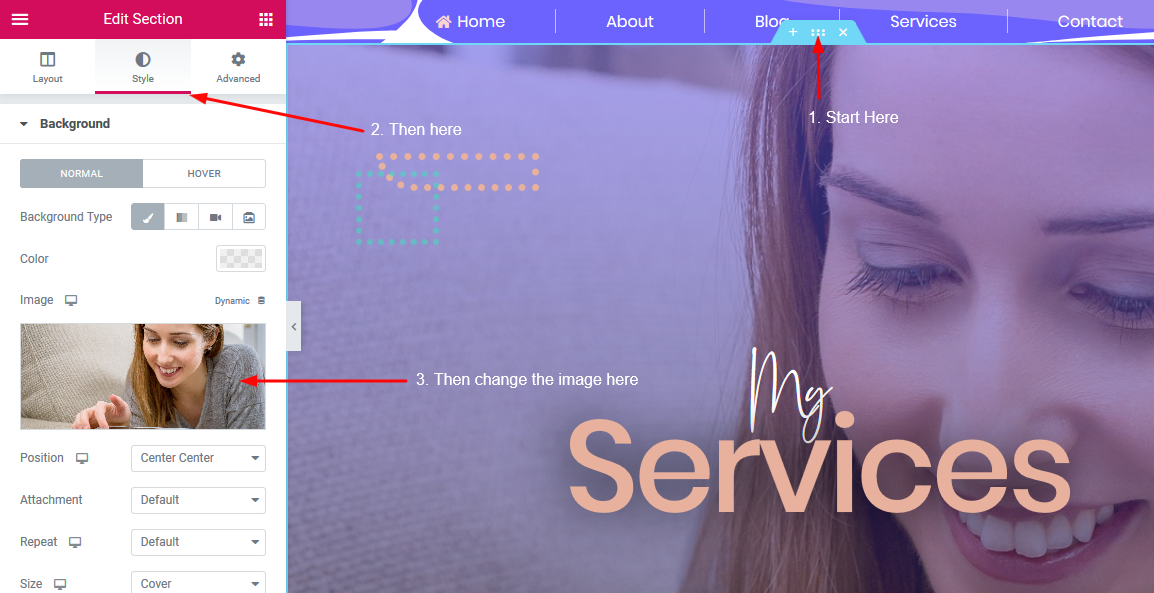
1. To change the image of the lady on this the hero section here (and a hero is a large web banner):
Hover over the image
Click on the editor handle that is at the top center of the image
The editor panel will open (it is at the left)
Click on SECTION
Click on BACKGROUND and click on the current image to choose a new one from your media library or to upload a new one from your computer.
2. To change the colors of those dots here (which we call 'spacers')
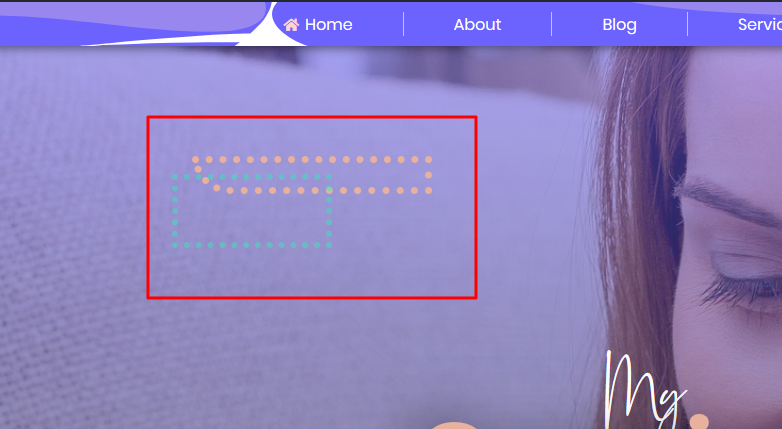
As you can see there are 2 spacers there. One is greenish/bluish and the other is sort of crepe/salmon-like.
Click on the one that you would like to change the color
Click on ADVANCED and scroll down to the color options
Click on the color box to select a color of your choice
3. Any text on the page can simply be edited by clicking on it and editing it in the editor panel
Remember, to change the colors, font type, weight etc, use the STYLE tab in the editor panel
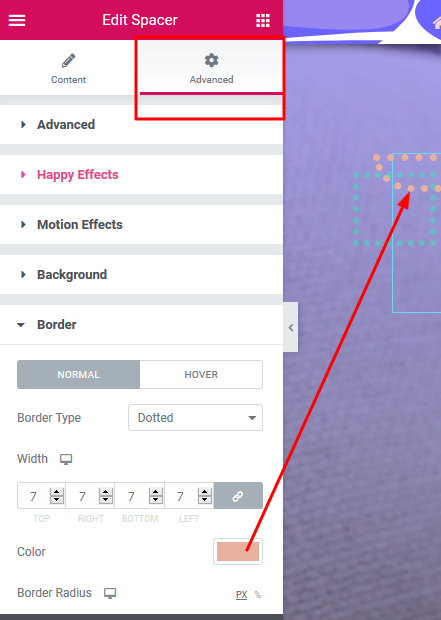
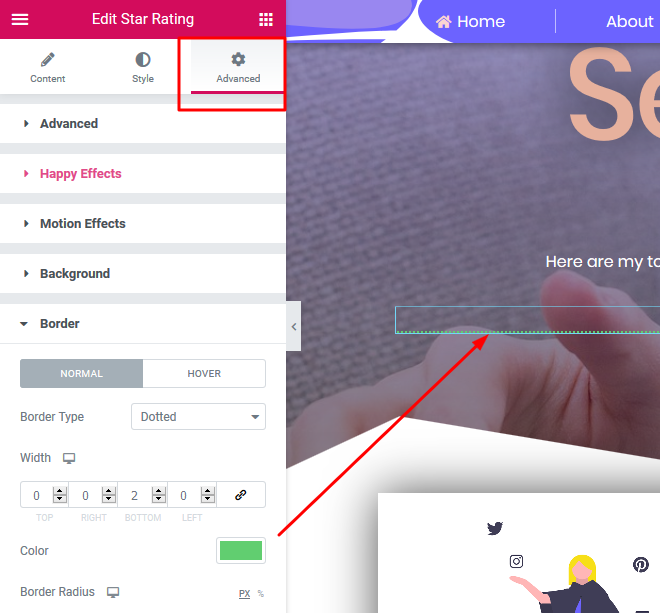
4. To change the color of these yellow/orange dots (called a border) that are below the text 'rated'

Click on the dots that you want to change
The editor panel on the left will open
Click on ADVANCED and scroll down to BORDER
Click on the color box to change the color as you wish
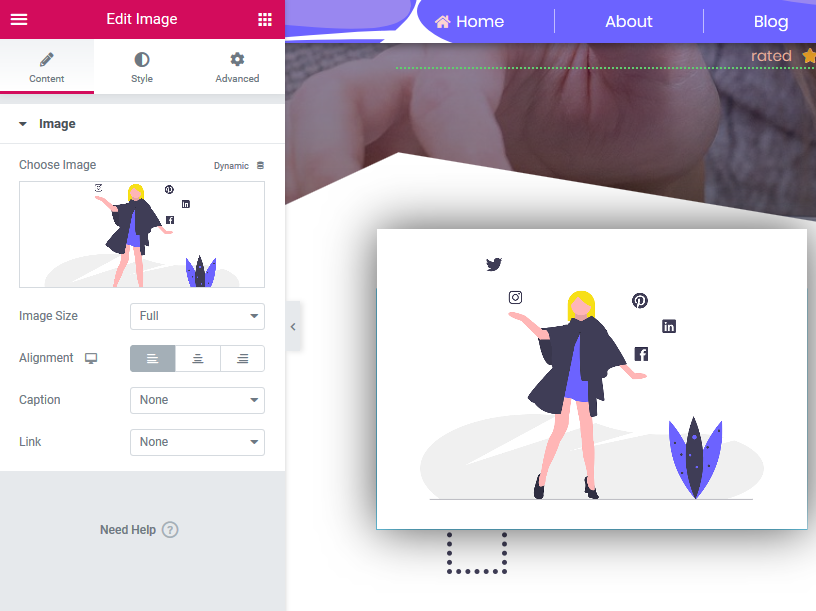
5. To change this image or any other image on this website
Click on the image
The editor panel at the left will open
Click on the current image to select
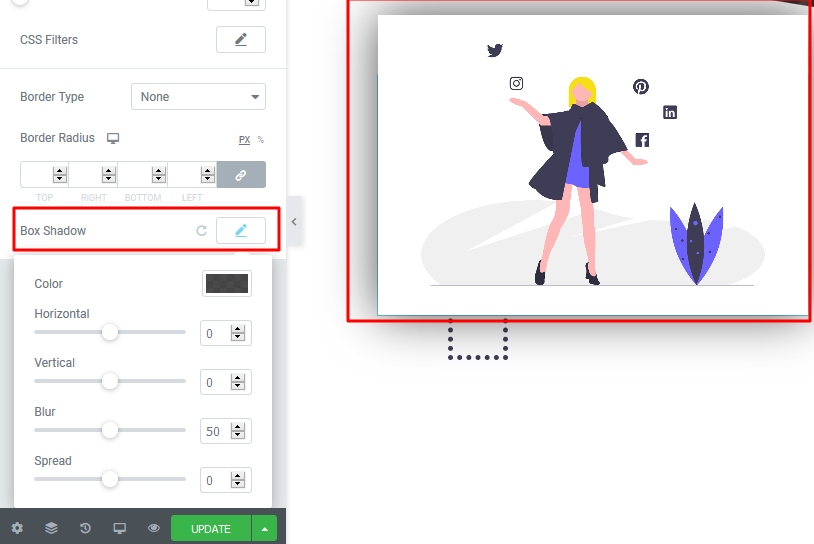
You can increase or decrease the shadow of the image above
You can also change the color of the shadow of the image
To modify the shadow, make sure you are on the STYLE tab and scroll down to BOX SHADOW
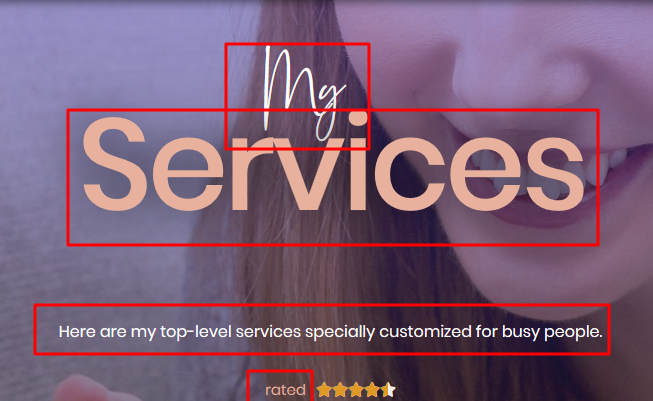
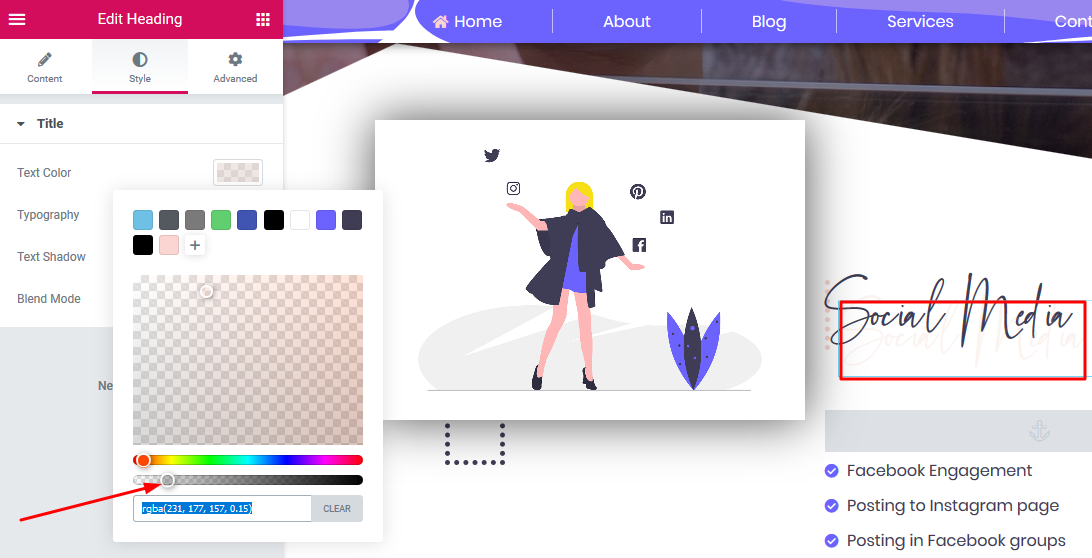
6. To edit the text here: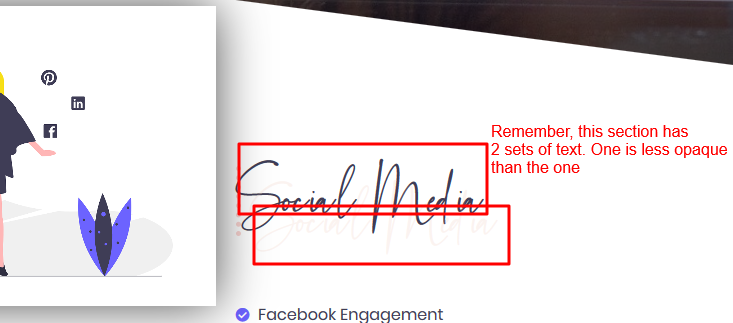
Click on any text that you want to change
The above text has more opacity than the lower text
If you want to increase the opacity of the one that is at the bottom, click on the text
On the editor panel at the left, click on the STYLE tab
Click on TEXT COLOR
Move the little circle to the left or right to decrease or increase the opacity
The arrow below shows you were you can increase or decrease the opacity
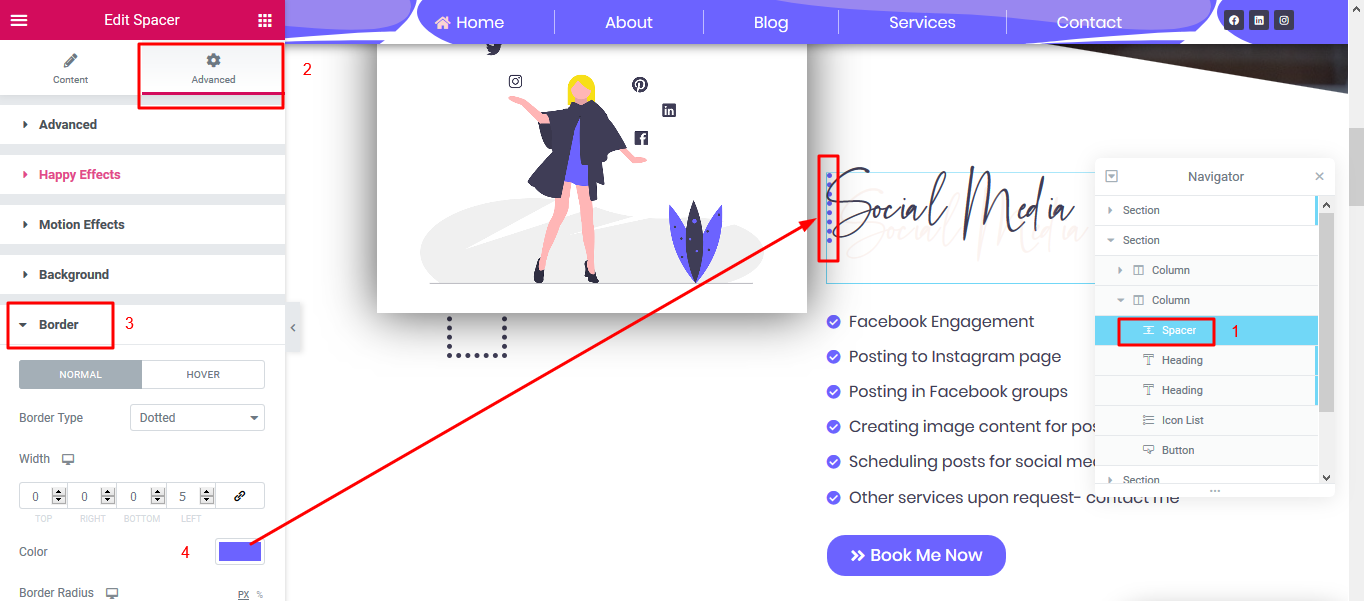
7. To change these dots here (called a spacer)
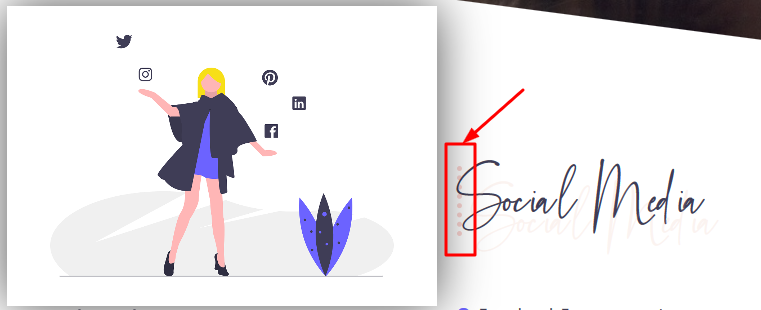
Naturally, you can just click on the dots and change the colors on the editor panel on the left
BUT
The dots are located too close to the text and are difficult to single out
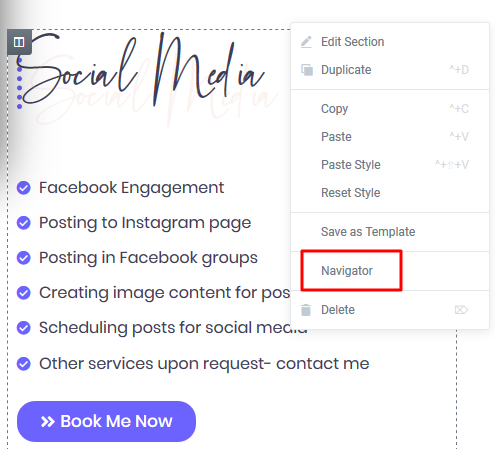
The best way to solve this is to RIGHT-CLICK on the SOCIAL-MEDIA text
Click 'Navigator' to show the list of all the elements on this section
Click on SPACER to open the spacer editing options on the left
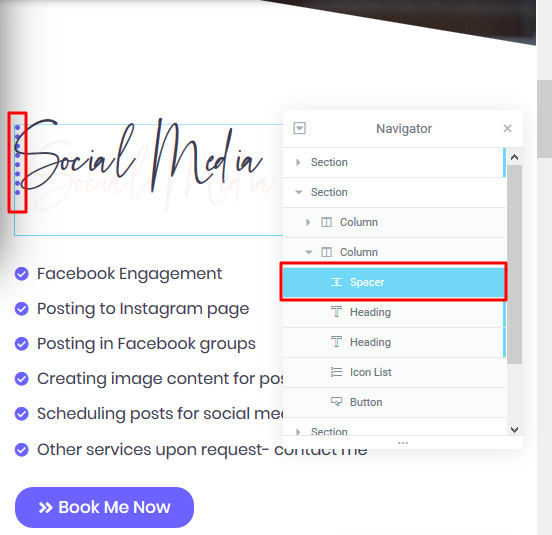
Now you can begin editing the spacer
Click on ADVANCED
Scroll down and click BORDER
Click on the color box to change the color as needed
Every other SPACER on the page can easily be edited by clicking on it and editing it as needed in the editor panel that is on the left.
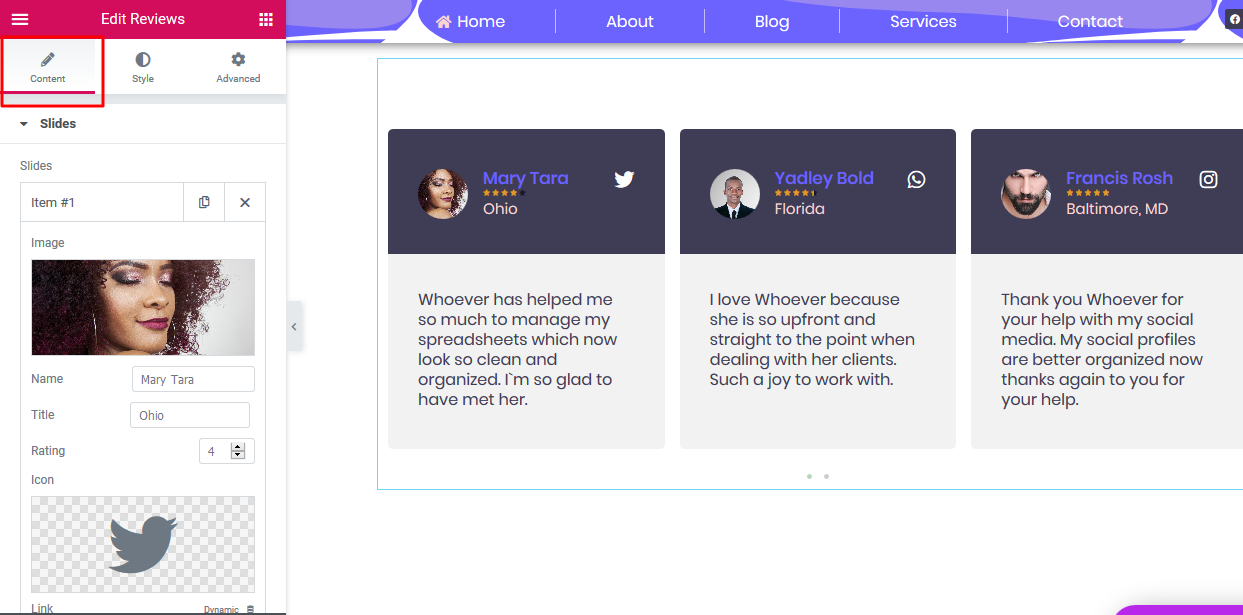
8. If you would like to change the text, titles, icons, ratings, and pictures on these testimonials:

Click on the testimonials
The editor panel on the left will automatically open
Edit the contents of each testimonial as needed
The colors, image size and rating color can be changed in the STYLE tab: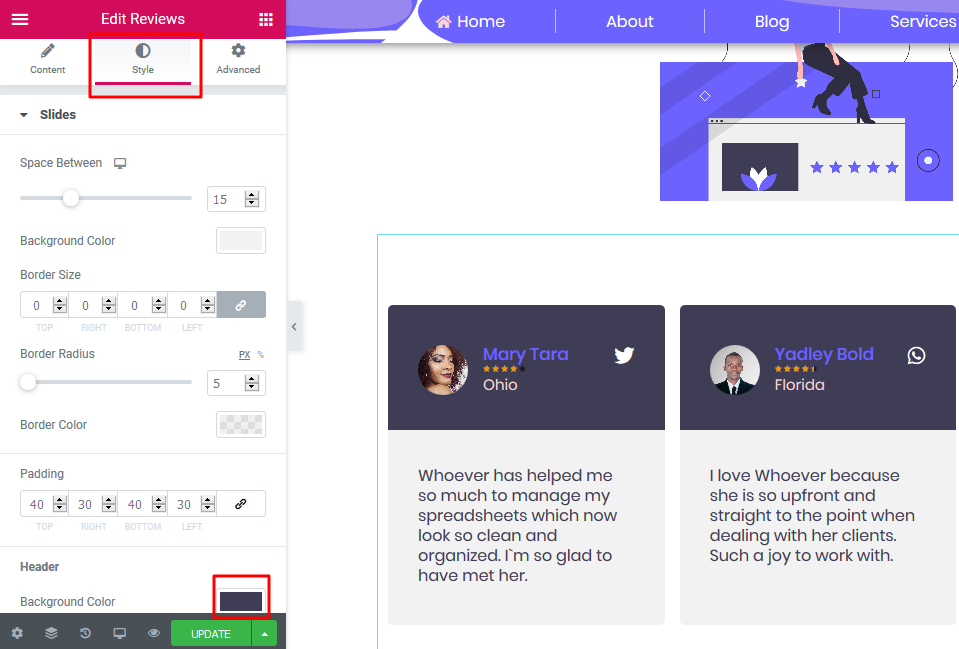
9. Any text or element in this section can be edited by clicking on it and editing it as needed in the editor tab that opens on the left
Always remember that colors, spacing, and typography can be changed by clicking on STYLE in the editor panel
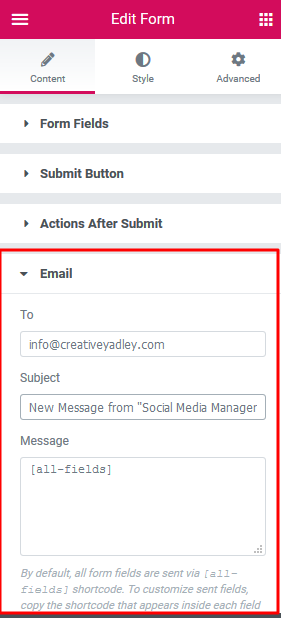
10. To direct where your new messages go to after a visitor fills this form:
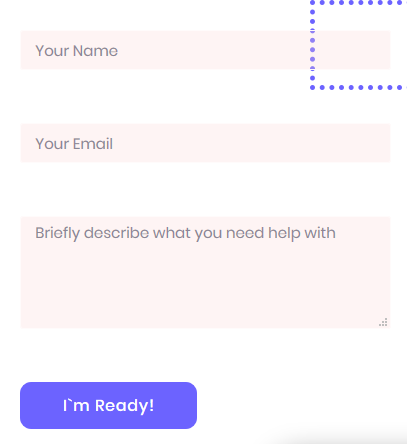
Click on the form
The editor panel on the left will open
Scroll down to where its written 'Email'
Enter your preferred email address and Subject Line
The subject line is what YOU will see when you get a new email notification
The user does not see that Subject line
The button color and the type of font on the button can be changed on the STYLE tab in the editor panel
'Border Radius' as shown below changes the 'roundness' of your form`s button

