Introduction:
WooCommerce (the plugin that we use for your shop`s e-commerce) classifies products into four major categories:
- Simple Products
- Grouped Products
- External/Affiliate Products
- and Variable Products.
In addition, there are also Virtual and Downloadable products. This article will focus on adding a ‘simple product.’ If reading is not something that you prefer you can watch this short video tutorial below. If you prefer screenshots and explanations then please scroll and read the rest of the tutorial below.
Section A: The Basics
1. Login to your website: Although this sounds too basic and obvious, please log into the website first in order to begin to add the product. We are saying this because we have had a situation where someone was trying to make changes to their website whilst they were logged out of the website. To login to your website, all you need to do is add /login/ or /admin/ to the end of your site's URL. Both of these URLs will take you to your login page where you can enter your username and password. Once logged in, you will be taken directly to the admin area, or dashboard, of your site.
2. In your dashboard, navigate to Products → Add Product. The product information page will appear.

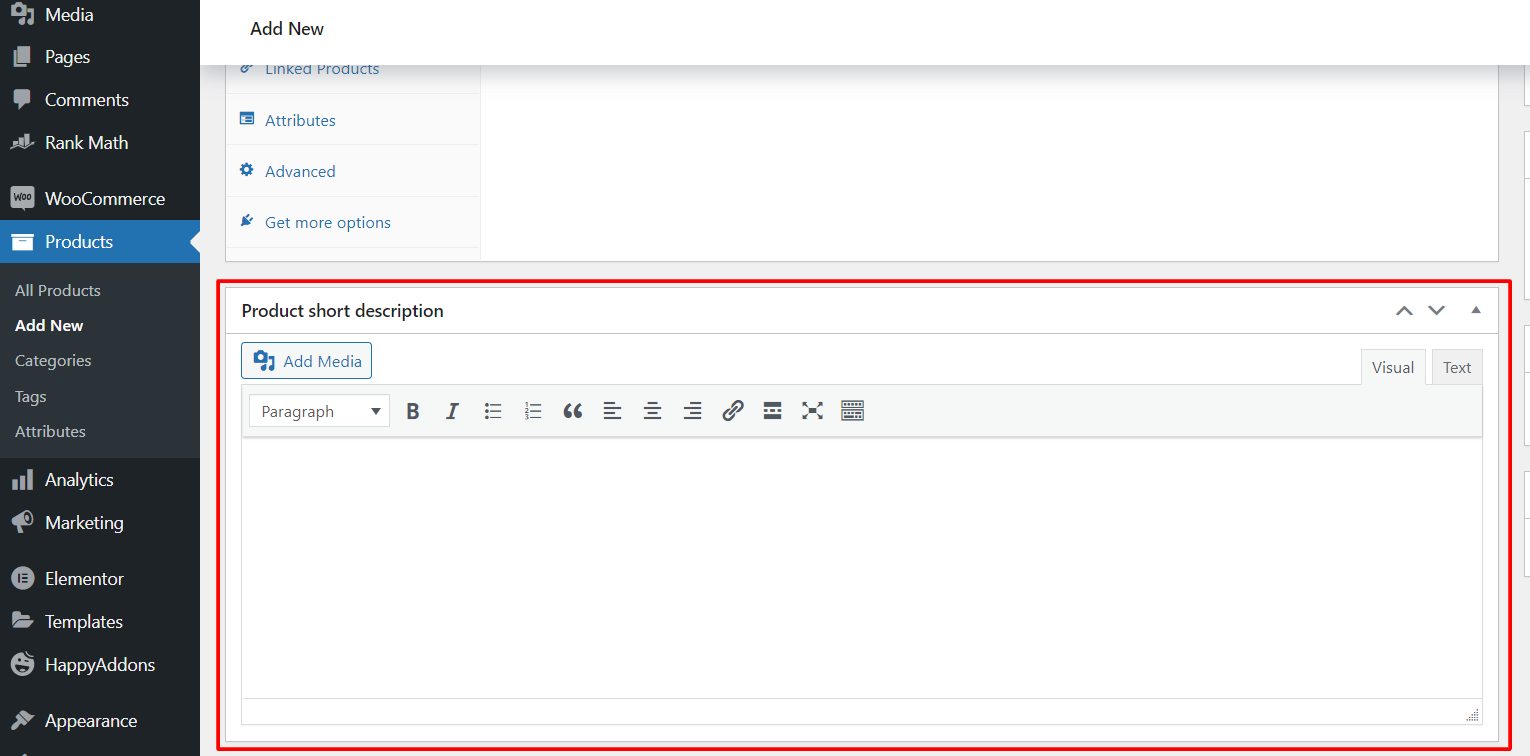
3. You can start by adding a Product Name and a description of your product.
For the product description, we recommend that you scroll down and write the basic information about your product in the 'short description' box shown here:
4. On the bottom part of the page, there is a Product Data meta box, where you set up the basic features of your product including product type, price, available stock, dimensions, attributes, and stock management. Let's look at how we can set up this area.

Section B: Setting Up Product Data
Now, let’s look into each of these settings in detail.
1. In this section, you can choose what type of product you want to add. You can choose from Simple, Grouped, External/Affiliate and Variable.
There are also options to set Virtual and Downloadable products here.

2. Set the product type
In the General settings, you can set the regular price for your product. Whether your product price is inclusive or exclusive of tax is dependent on what you have chosen in the tax settings.
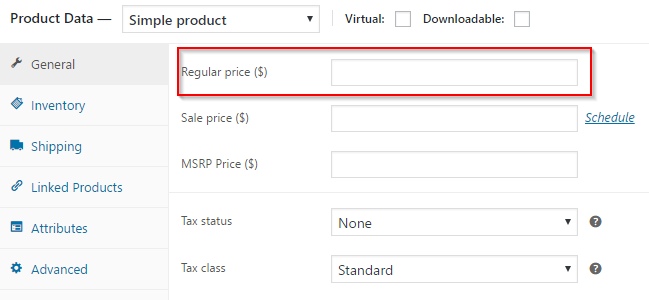
3. Set the product price
Are you offering a discount? You can also set a Sale price for your product.
The price can be made available for a time period, which you can set by clicking the Schedule link.
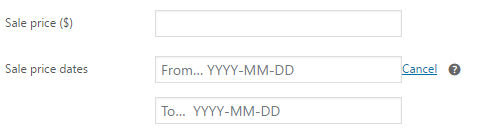
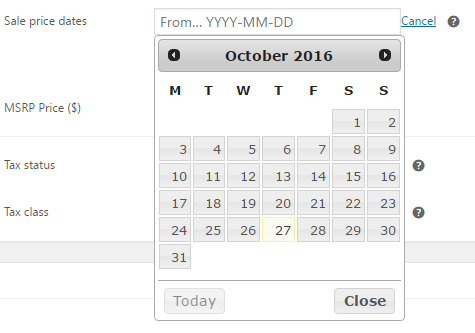
You can schedule a sale price by clicking the From… and To… fields and choosing the date from the calendar.
4. Apply tax on the product (optional)
You can define how you want the tax to be applied to this product – either make the entire product taxable, or just the shipping amount for this particular product.
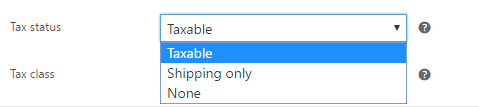
You can also choose which tax class your product will fall under.
You can choose from all the default Standard Rate or one of the additional classes, or your custom-made tax classes.

5. Setup product identifier information and inventory.
You can assign an SKU for your product. SKU or Stock Keeping Unit is a unique identifier that you can assign to the product you are creating.
The SKU can be a random set of numbers or characters, e.g 48859BH4
You can enable stock management at product level by ticking the Manage stock checkbox.
You can edit the Stock status of the product as well. This will update whether your product is in stock or out of stock in the front-end of your shop.
Enable Sold individually checkbox to restrict buying this product more than once in a single order.

6. Fit everything into the shipping framework.
Shipping settings allow you to set Weight and Dimensions of your product.
Care should be taken to accurately add these features, as any wrong information here may lead to issues with your customer.
You can also assign the product to any of the applicable shipping classes that you have already created.

7. Create a link with other products (optional)
WooCommerce allows linking other products in your inventory with the current product. This is a good marketing strategy for your store.
In the Linked Products settings, you can set three options for this
They are:
- Up-sells – Up-sells are a way of suggesting another similar product to your customer that you assume the customer would like. This is most likely to be a more expensive product as well.
- Cross-sells – These are somewhat related products that you want to suggest to the customer.
- Grouped products – The current product will be set as a part of a grouped product. Grouped products will be covered in detail in another article.

You can add and assign categories for your product in the Categories section.

8. Add tags and images
Now you can add tags, a featured image and gallery images also from the respective sections.

Section C: Publishing Your Product
The first three options in the Publish section looks and operates similarly to a WordPress post editor.

There’s a feature in the Publish section that you have to pay attention while organizing your product – Catalog visibility
This will define how this product will be seen in response to searches.
There are four options to choose from:
1. Catalog/search – If you choose this option, your product will be displayed everywhere, including category pages, search results and shop page.
2. Catalog – Selecting this option will hide your product from search results. It’ll be visible only on category pages and shop page.
3. Search – This is the reverse of catalog option. A product will be visible in search results, but not on category pages or shop page.
4. Hidden – Choosing this option means the product can only be seen on the single product page; not on any other pages.
You can choose your preferred option and click the OK button.
You can also tick the checkbox to make the product a Featured Product.

After updating all the fields, you can now click the blue publish button.

Congratulations on successfully setting up your product!
