-
When you visit an online store, you're often taken to the Shop Page, where all the products are displayed.
-
From here, you can explore specific categories (like Shoes or Accessories), or use filters to narrow down products by size, price, or other criteria.
-
This type of page, which organizes and displays multiple products, is known as a Product Archive Page.
-
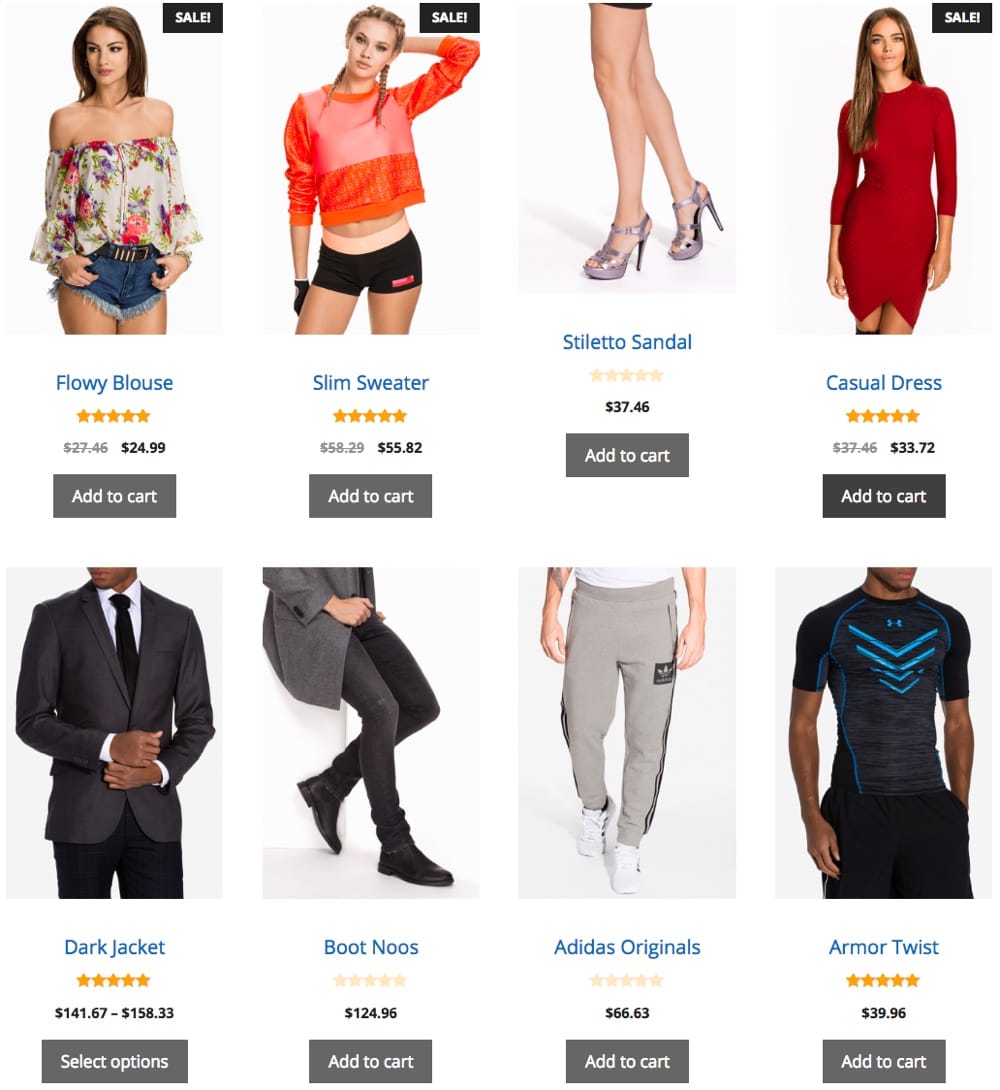
A product archive page typically looks like this:

Or like this...

Using Elementor page builder, here is how you can create a similar page for your shop:
-
In your dashboard, navigate to Templates > Theme Builder > Product Archive >
-
Click on Add New, from the dropdown choose Product Archive, give it a name, and click Create Template.
-
Choose a Product Archive Block and Insert. Alternatively, you can design your own from scratch if you do not want to use a pre-built template.
- Your products will automatically show on this page.
- After you’ve finished designing, click Publish.

- Well done on successfully creating your shop archive page!
Enabling Sorting Options:
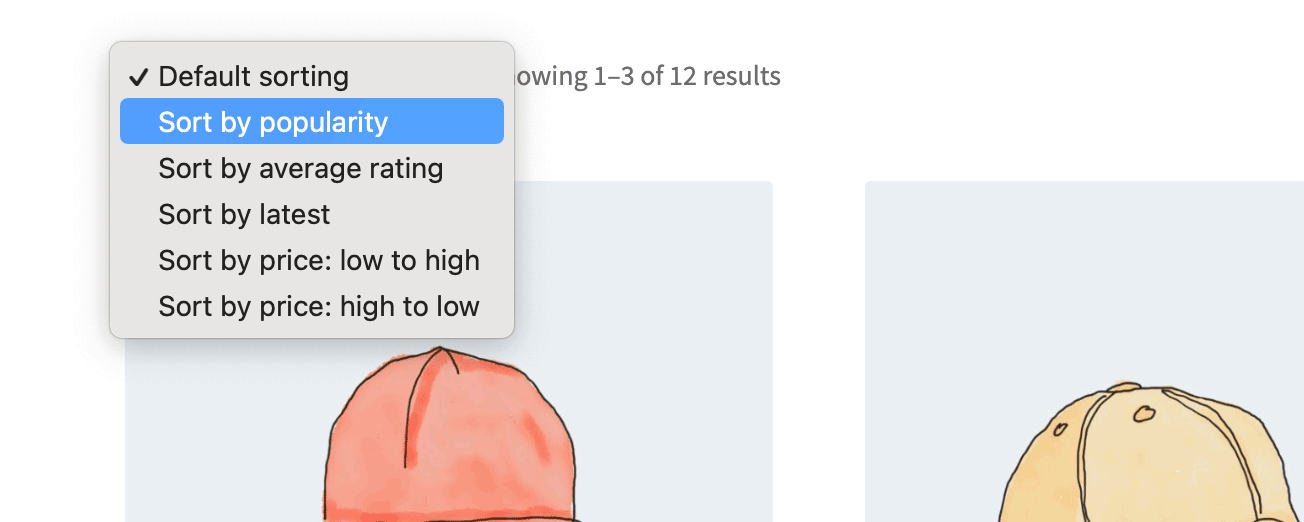
Now, let’s add sorting options so your customers can easily browse the products by price, popularity, and more.

After creating your Product Archive page, click on the Product Archive Widget (or your custom product listing widget) - this is the widget that is currently displaying your products.
-
-
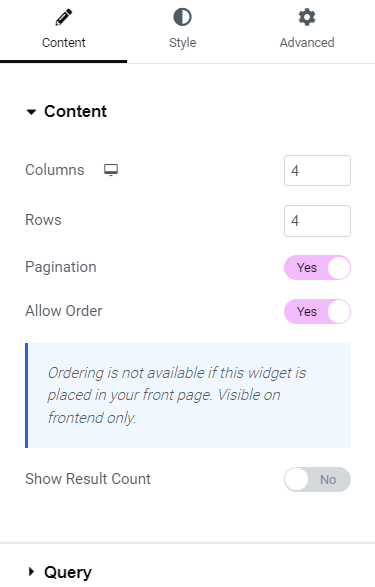
In the Elementor sidebar, click on the Content tab.
-
Under the Content section, you’ll find the following options:

- Columns: Set how many products per row (e.g., 4).
- Rows: Set how many rows of products to display per page.
- Pagination: Toggle this to Yes
- Allow Order: Toggle this to Yes to enable product sorting on the front end. This allows users to sort products by options like Price, Popularity, Rating, etc.
-
To further customize sorting behavior, scroll down to the Query section to refine what products are shown or filtered based on categories, tags, or other attributes.
-
Once you've adjusted the settings, click Publish to save your changes.
-

