- In this short 3-part tutorial, you will learn how to activate the Square payment gateway on your website so you can expand your in-store business to online sales easily.
- WooCommerce Square is a popular payment gateway for business organizations that attract both online and point-of-sale purchases.
- Before we proceed, please be informed that Square payments are only available in the U.S., Canada, Australia, Japan, and the UK.
- To begin using Square, you first need to connect your website to Square by following the steps below:
Part 1 of 3: Login To Your Stripe Account Via Your Website Dashboard
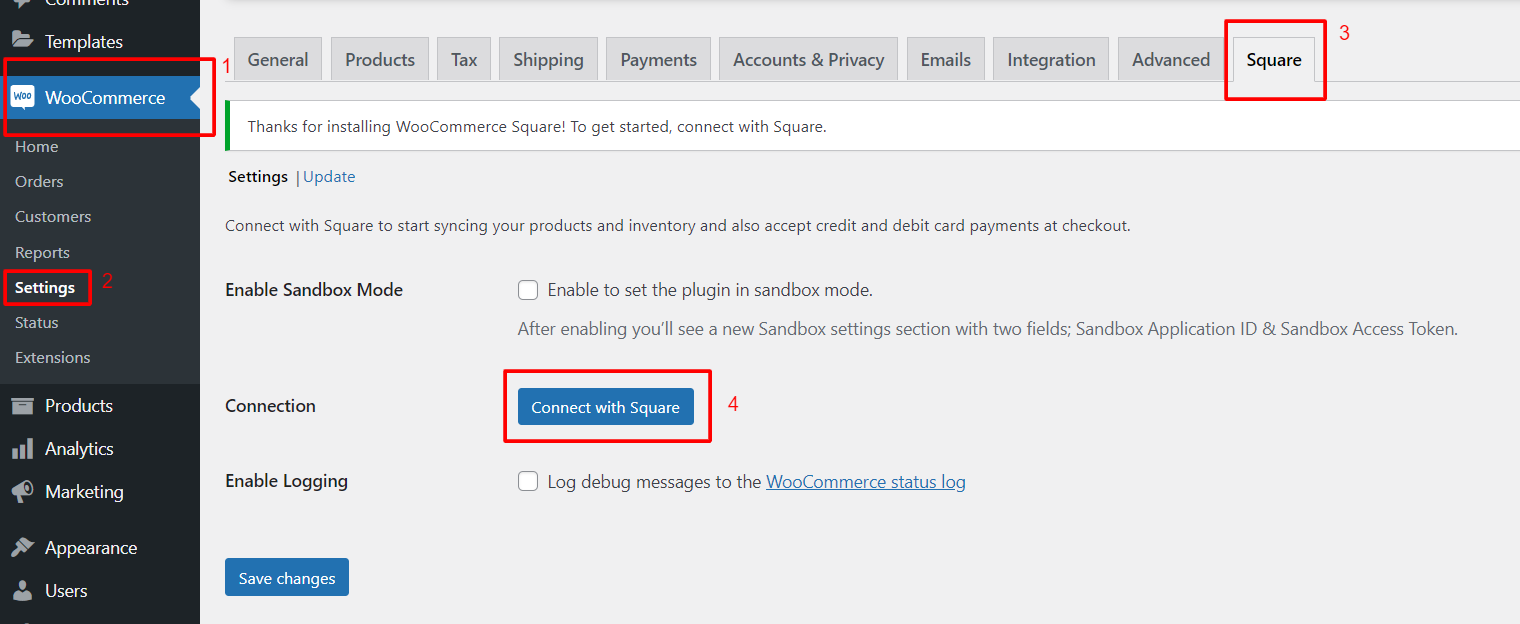
- Navigate to WooCommerce > Settings > Square.
- From here, click the blue 'Connect with Square' button as shown below:
- Please note that you will need an account to connect to your website. If you have not created a Square account yet, create an account before proceeding.
- After clicking the blue 'Connect With Square' button you will be brought to the square login page. This is important because to connect your site to Square, you will need to login to your Square account.
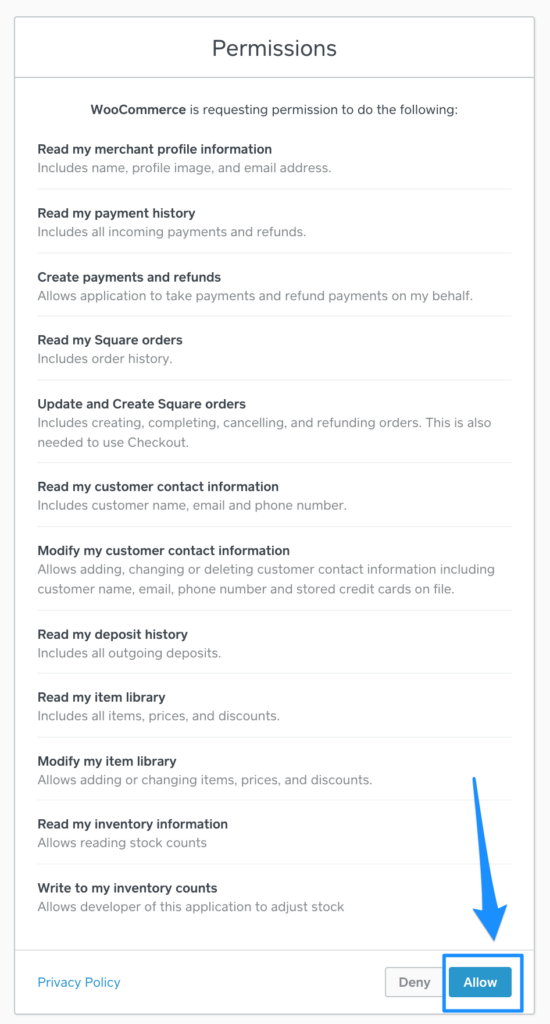
- After signing in, click 'Allow' on the permissions screen as shown here:
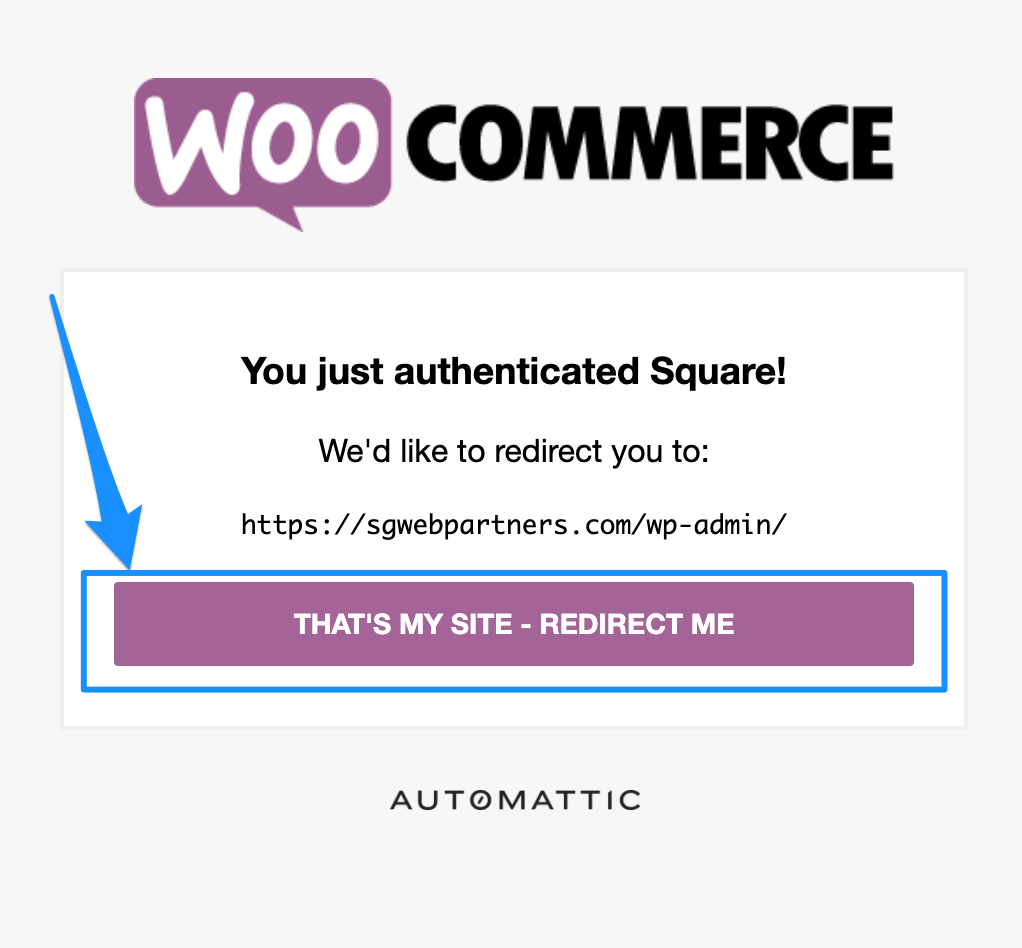
- Good job, you have just authenticated Square to start working on your website!
- Click Redirect Me to navigate back to your site.
Part 2 out of 3: A Few Basic Settings
- Now, you will be asked to provide your business location and a few other details.
- This option will be found at WooCommerce > Settings > Integration.

- Nothing complicated here, just make sure to select what Business location and Product system of record you would like to choose.
- Simply select your Business Location from the drop-down menu. It will be entered and pulled from your Square account.
- Enter your email address in the Notification Email box.
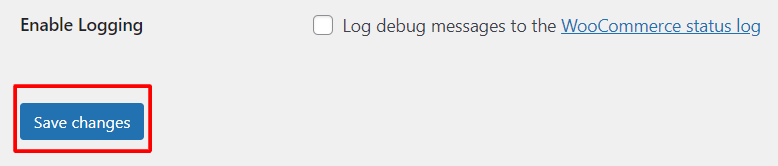
- We recommend that you leave the 'Log debug messages' option as is (don`t click to activate it).
- Select to enable Sync inventory and/or Handle missing products.
- Scroll down below and click the blue ‘Save Changes’ button.
Synchronization Settings
We recommend the following settings for synchronization.

- Tick on the Enabled Products checkbox for product synchronization.
- To sync your product categories put a tick on the Sync Categories check box.
- Tick on the Sync Inventory check box to sync your product inventory.
- To sync your product images tick on the Sync Images check box.
- To auto-sync Square to WooCommerce click on the Enable check box.
- Now scroll down and click on the blue Save Changes button.
Part 3 of 3: Enable The Square Payment Option For Your Customers
- You have done well to set up Square on your website.
- However, the square payment option is not yet visible to your customers.
- It will need to be activated in the 'Payments' section (WooCommerce > Settings > Payments) as shown below.
- Use the toggle option under Enabled to select Square as shown below:

- Now Click on 'Set Up' as shown on the screenshot above (click on the 'Set Up' button next to the Square option).
- The following window will open up.

- Tick the checkbox to Enable/Disable Square as the Payment option.
- Now enter a Title. Just typing 'Credit Card (Square)' can do.
- Enter a Description, e.g Pay with your credit card via Square.
- We recommend that you leave the Delay Capture option as is, do not tick that option. It is just an optional field Delay Capture to pre-authorize a charge and not capture it until later.
- Tick the Create Customer option (optional).
- We recommend that you leave the Log Debug Messages checkbox as is, do not tick that option.
- Now Save Changes.
Well done! On checkout, your customers will now see the Square payment option as shown below:

- Finally, do a live transaction on your site using Square. Open up a browser on your phone or computer and go to your website and add one of your products to Cart.
- You should see the option to pay with a credit card.
- If you do not see this option, you may also have to clear your cache.
- That`s all for now, have a great day!
